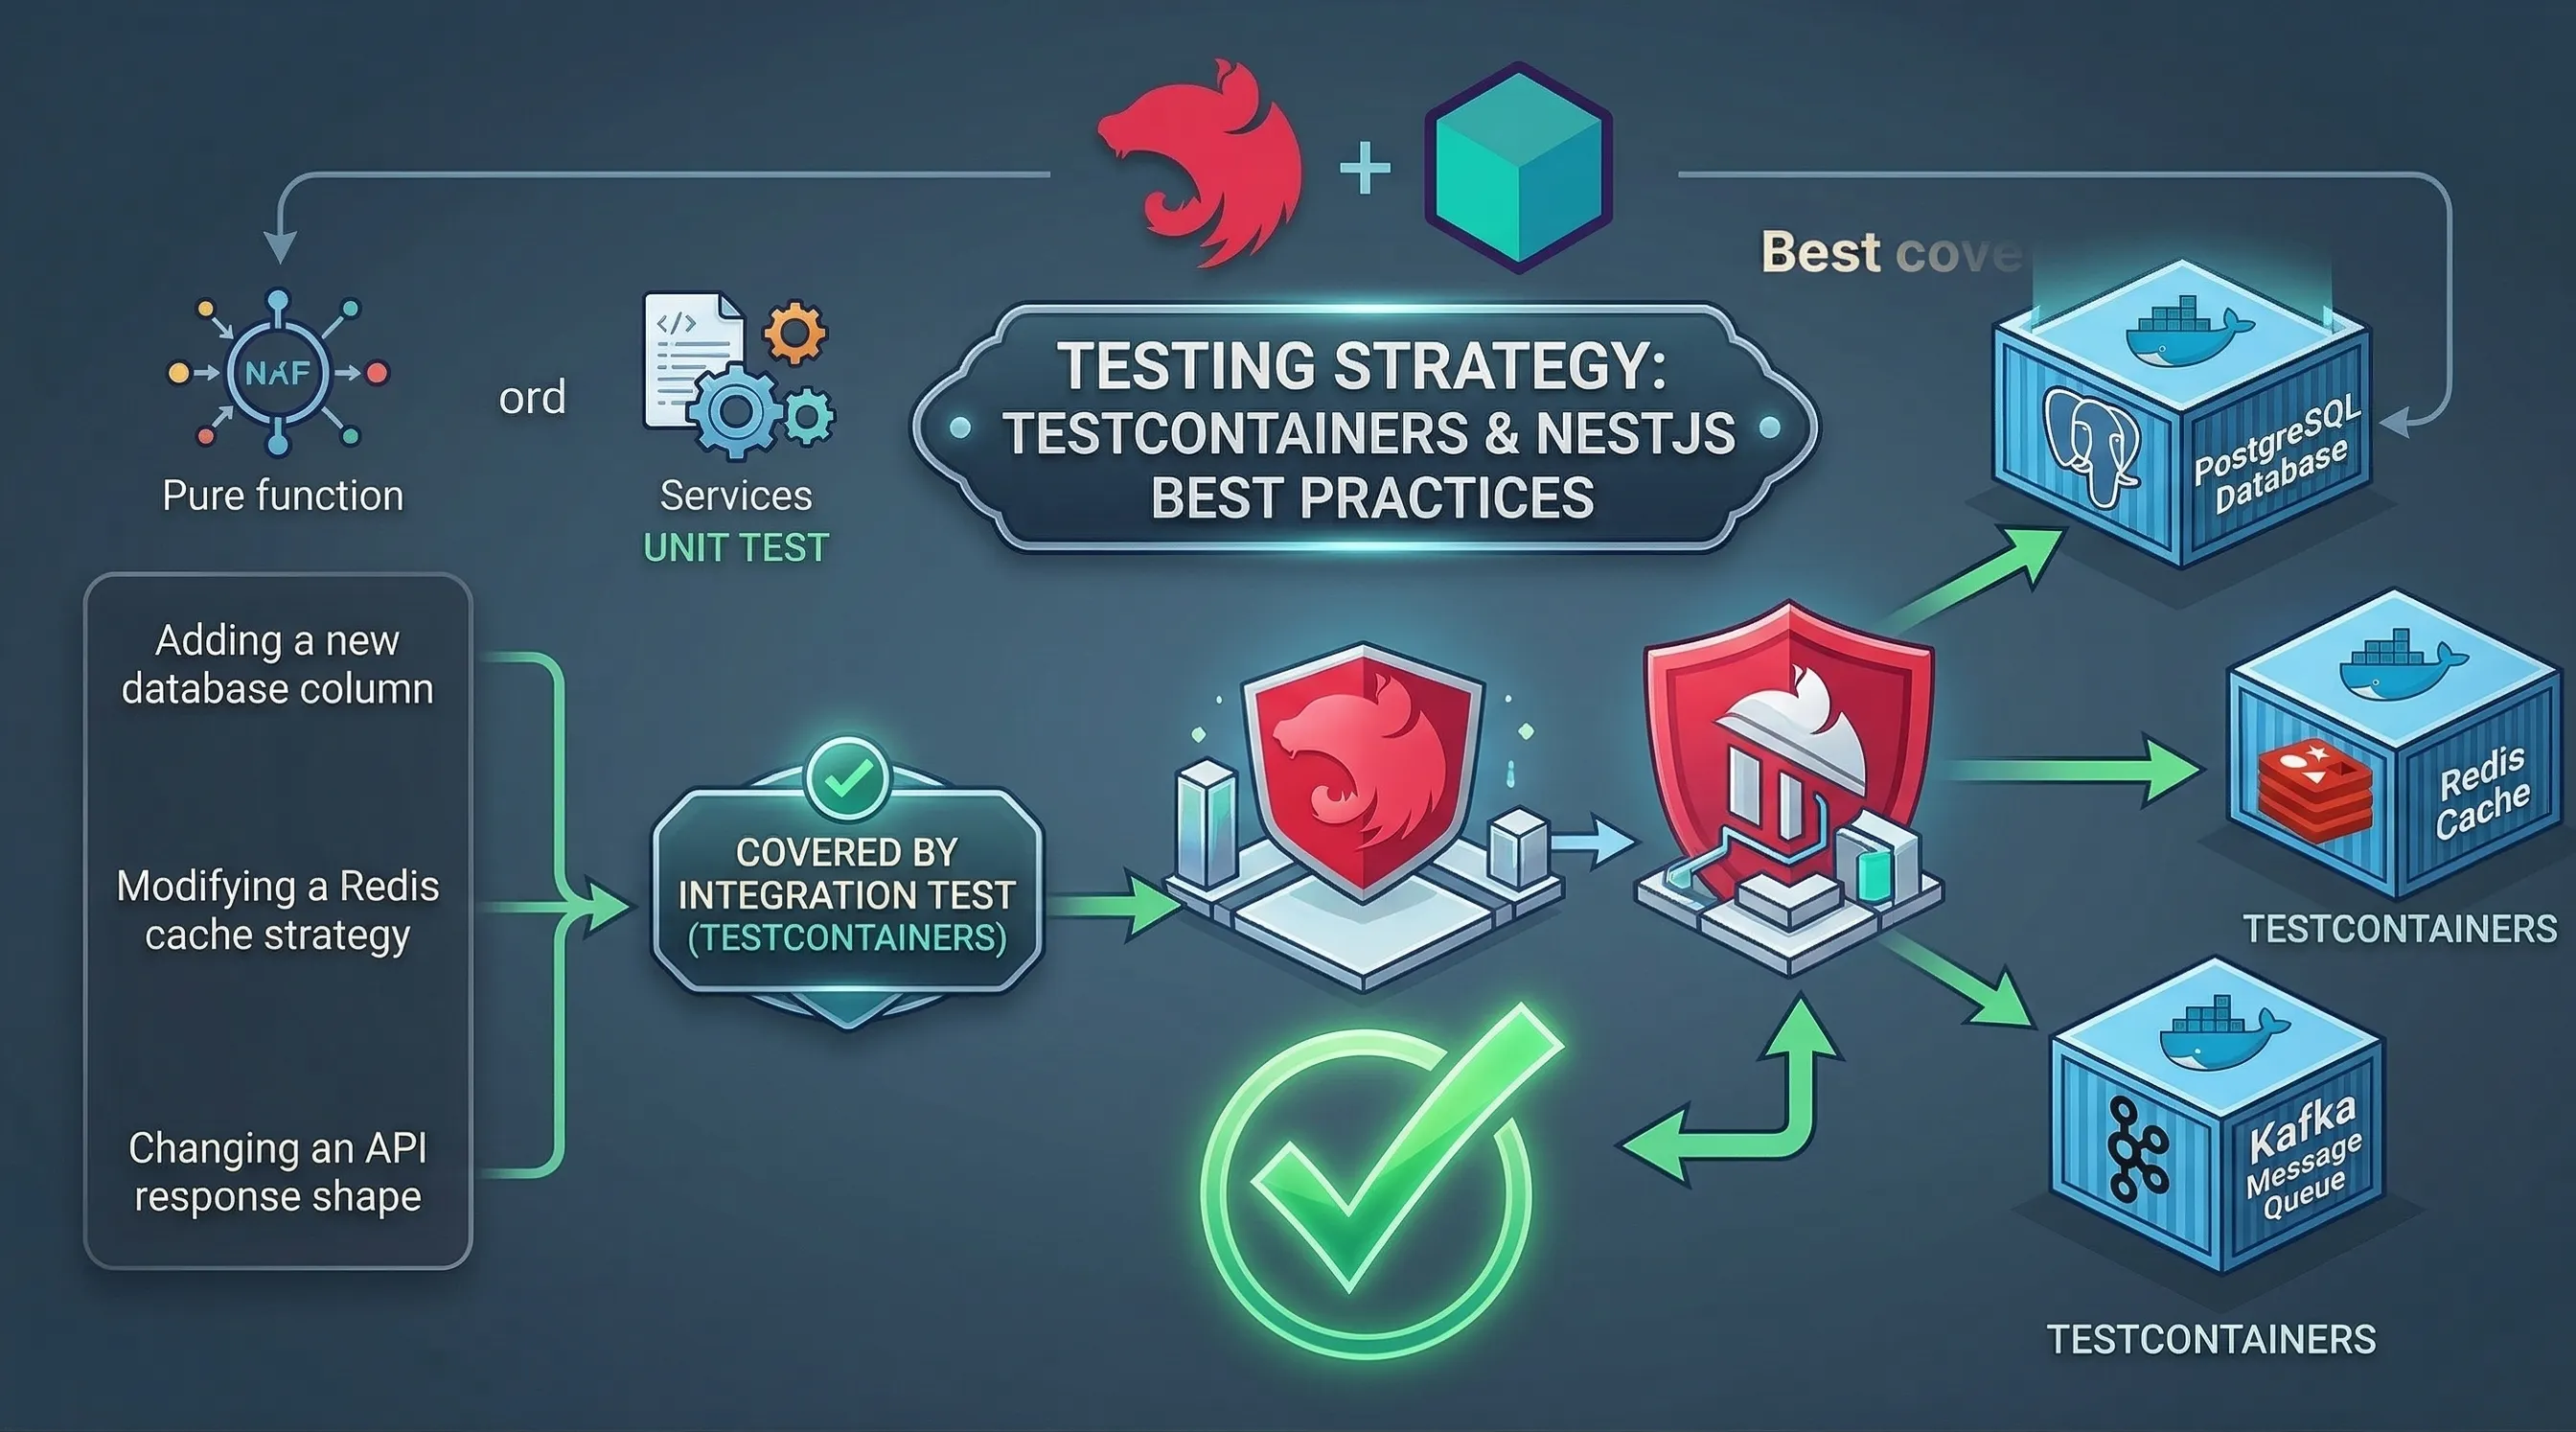
Integration tests with Testcontainers are powerful - but they can quickly become a maintenance nightmare if you don't follow the right patterns. We've seen teams struggle with flaky tests, slow test suites, and configuration headaches that could have been avoided with better practices from the start. Today, we'll show you the patterns that make Testcontainers tests in NestJS reliable, fast, and easy to maintain.
Unit Tests vs Integration Tests - What's the Difference?
Before diving in, let's get the definitions straight. These two types of tests serve very different purposes, and confusing them leads to test suites that give you false confidence.
Unit Tests
A unit test verifies a single piece of logic in complete isolation. Dependencies - databases, HTTP clients, external services - are replaced with mocks or stubs.
// Unit test - OrderService is tested in isolation
describe('OrderService', () => {
  it('should throw when stock is insufficient', async () => {
    const mockRepo = { findById: jest.fn().mockResolvedValue({ stock: 2 }) };
    const service = new OrderService(mockRepo as any);
    await expect(service.placeOrder({ productId: '1', quantity: 5 }))
      .rejects.toThrow('Insufficient stock');
  });
});
Pros: Extremely fast. No infrastructure needed. Easy to write and run anywhere.
Cons: You're testing against a fake world. Your mock might not behave like real Postgres. Edge cases in SQL queries, transactions, or Redis TTLs will go completely undetected.
Integration Tests
An integration test verifies that multiple parts of your system work correctly together - your service, your database, your cache, your HTTP layer. No mocks for infrastructure. Real connections, real queries, real behavior.
// Integration test - the full stack is exercised
describe('POST /orders', () => {
  it('should return 400 when stock is insufficient', async () => {
    const product = await createTestProduct({ stock: 2 });
    const response = await request(app.getHttpServer())
      .post('/orders')
      .send({ productId: product.id, quantity: 5 });
    expect(response.status).toBe(400);
  });
});
Pros: Tests what actually runs in production. Catches bugs that unit tests miss - constraint violations, migration issues, cache invalidation bugs.
Cons: Slower to run. Requires infrastructure (Docker). More complex setup.
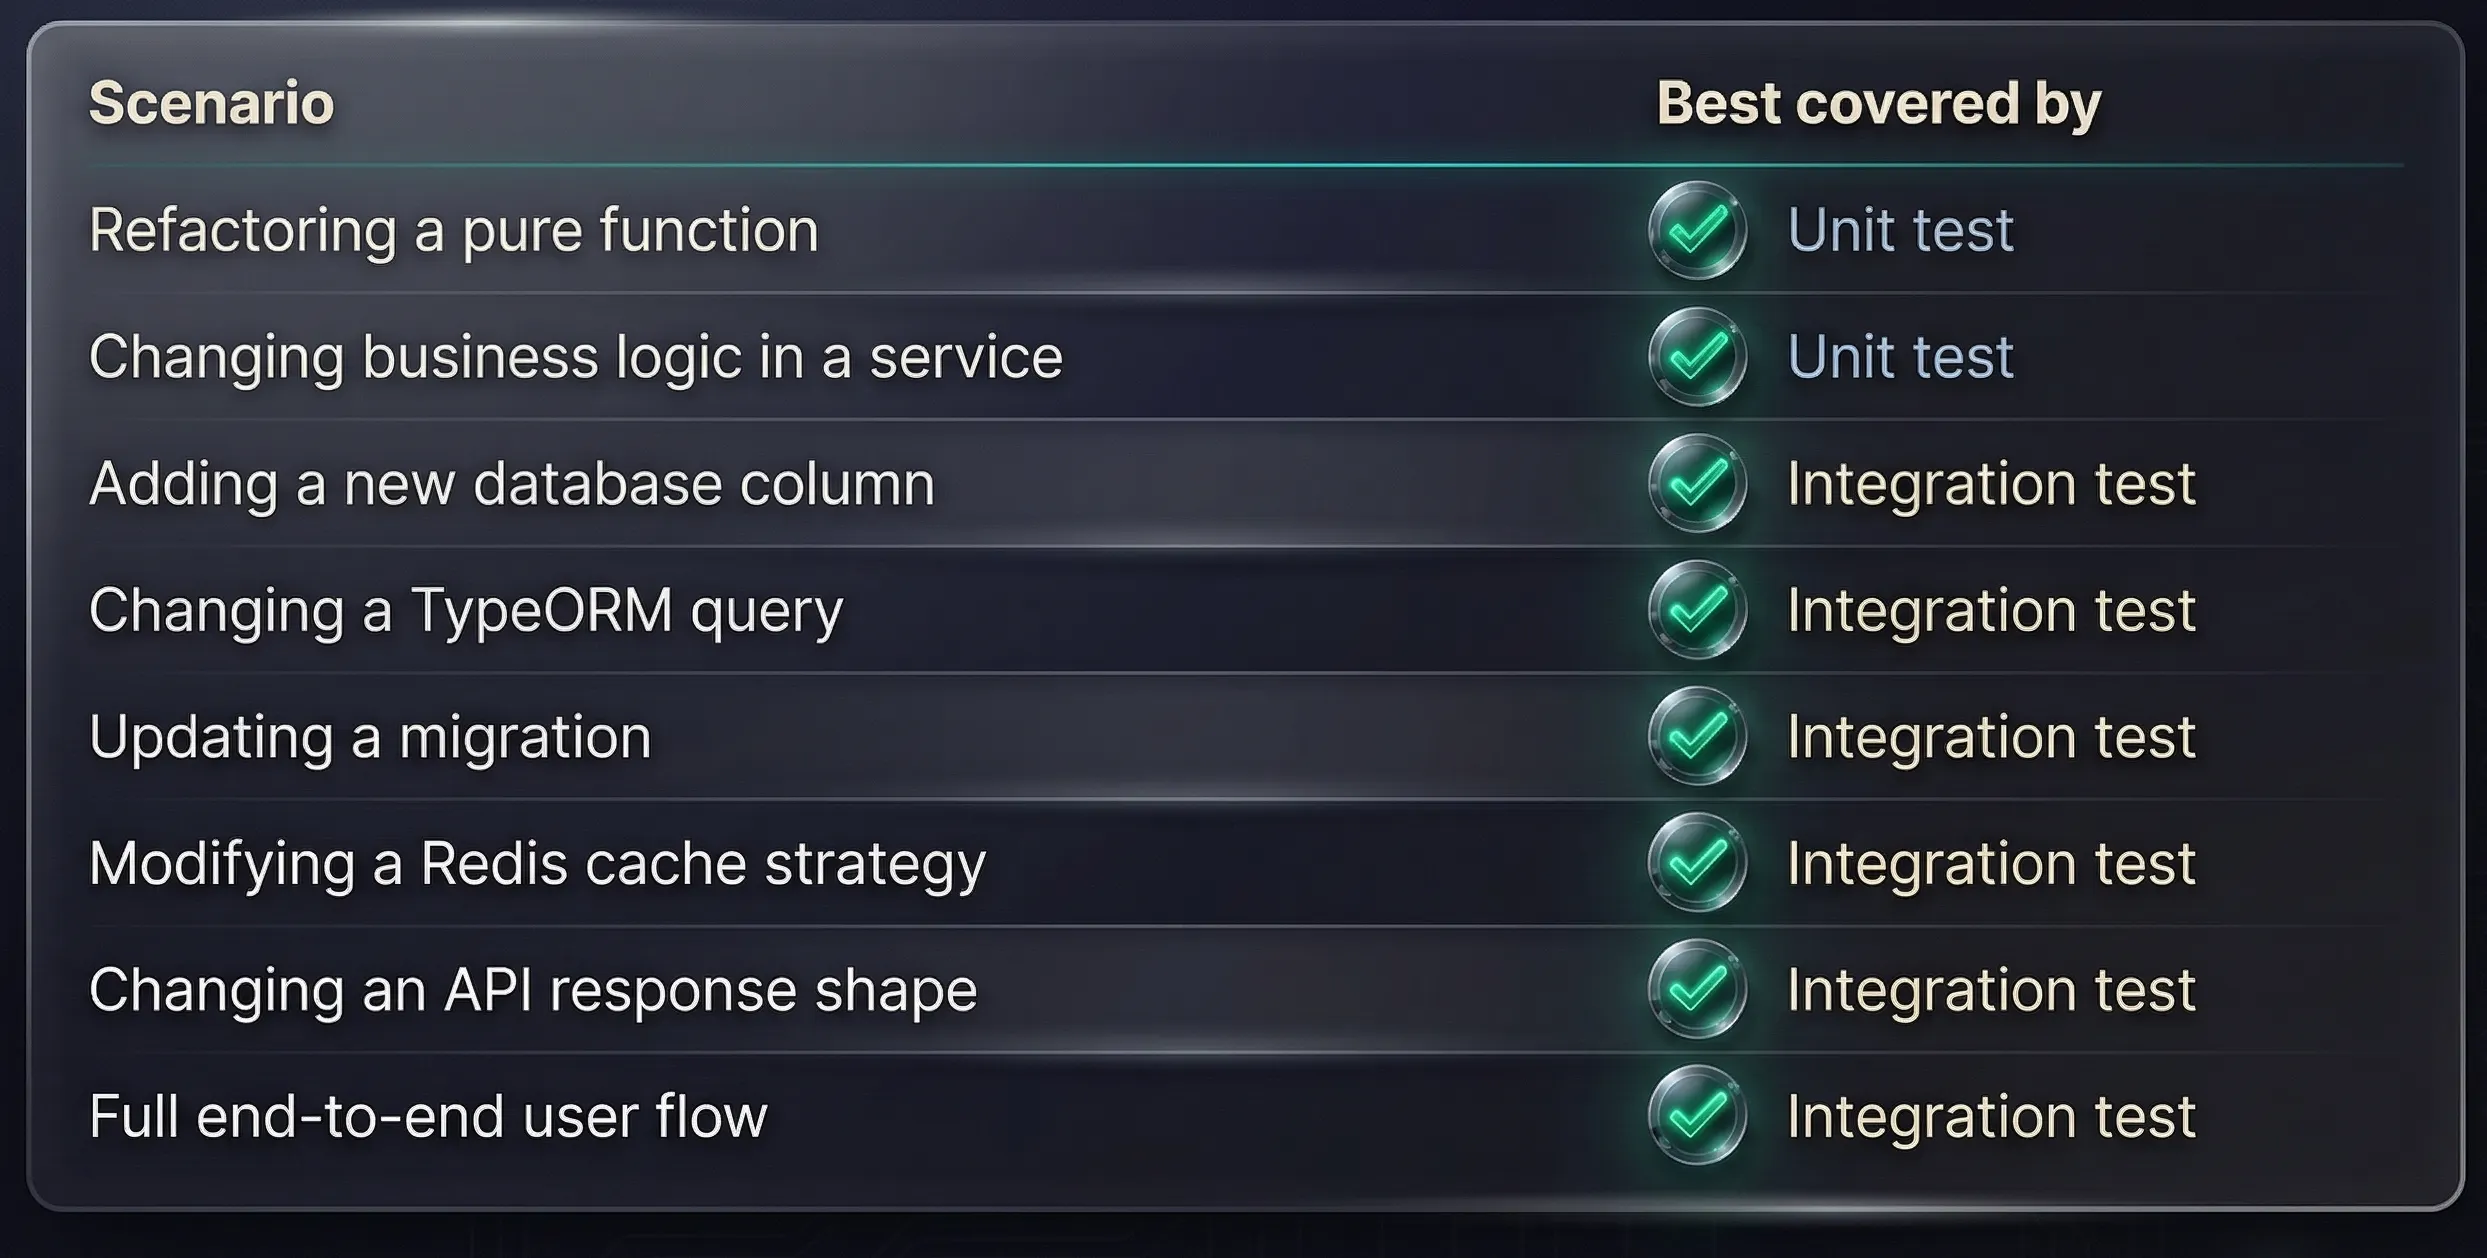
Which Gives You More Confidence When Changing Code?
This is the real question. And the honest answer: it depends on what you're changing.
Unit tests are fast feedback loops for logic. Integration tests are your safety net when the real system changes. You need both - but if you're asking which one saves you from production incidents, integration tests win by a wide margin.
A passing unit test suite gives you confidence your logic is correct. A passing integration test suite gives you confidence your system actually works.
The classic failure mode: a developer refactors a repository method, all unit tests pass (because they mock the repo), and then production breaks because the new SQL has a subtle bug. An integration test would have caught it immediately.
How Testcontainers Changes Integration Testing
Traditional integration tests often rely on shared test databases or in-memory alternatives that don't match production behavior. You either deal with test pollution between runs or sacrifice realism for speed.
Testcontainers solves this by spinning up real Docker containers for your dependencies. Your tests run against actual PostgreSQL, Redis, or any other service you use in production. When tests are complete, containers are destroyed - giving you a clean slate every time.
The magic happens through Docker's API. Testcontainers manages the entire lifecycle: pulling images, starting containers, waiting for readiness, and cleanup. Your test code just needs to know how to connect.
Prerequisites
Install the required packages:
npm install --save-dev @testcontainers/postgresql @testcontainers/redis
npm install --save-dev @nestjs/testing supertest
Make sure Docker is running locally. Testcontainers uses it under the hood.
Creating Test Containers
Here's how to set up your containers with proper configuration:
import { PostgreSqlContainer } from '@testcontainers/postgresql';
import { RedisContainer } from '@testcontainers/redis';

const postgresContainer = await new PostgreSqlContainer('postgres:17.11-bookworm')
  .withDatabase('myapp')
  .withUsername('postgres')
  .withPassword('postgres')
  .start();
const redisContainer = await new RedisContainer('redis:7.4.11-bookworm').start();
Choose the lifecycle that matches the isolation you need. Jest's globalSetup / globalTeardown can start one container set for the entire run. For per-file isolation, use an explicit helper so the test owns the application and container shutdown order:
// test/start-test-dependencies.ts
import { PostgreSqlContainer } from '@testcontainers/postgresql';
import { RedisContainer } from '@testcontainers/redis';

export async function startTestDependencies() {
  const postgres = await new PostgreSqlContainer('postgres:17.11-bookworm')
    .withDatabase('myapp')
    .withUsername('postgres')
    .withPassword('postgres')
    .start();
  try {
    const redis = await new RedisContainer('redis:7.4.11-bookworm').start();

    return {
      databaseUrl: postgres.getConnectionUri(),
      redisUrl: redis.getConnectionUrl(),
      async stop() {
        try {
          await redis.stop();
        } finally {
          await postgres.stop();
        }
      },
    };
  } catch (error) {
    await postgres.stop().catch(() => undefined);
    throw error;
  }
}
Awaiting the helper ensures the containers have passed their configured readiness checks before the test file compiles its NestJS application. Each file can run safely in a separate Jest worker because it receives its own containers and dynamic ports.
Tip: Pin the complete image version and distribution, such as postgres:17.11-bookworm and redis:7.4.11-bookworm. Major-only tags such as postgres:17 and redis:7 move when new releases are published. Use an image digest when you need a bit-for-bit immutable image.
Pass Configuration to Your NestJS App Dynamically
The biggest mistake we see is hardcoding connection strings. Testcontainers assigns dynamic ports - you can't know them ahead of time.
Instead, override your NestJS module configuration using Test.createTestingModule and replace environment values at runtime. If your application exposes its own DATA_SOURCE_OPTIONS provider, you can override it directly:
import type { INestApplication } from '@nestjs/common';
import { Test } from '@nestjs/testing';
import type { TestingModule } from '@nestjs/testing';
import { startTestDependencies } from './start-test-dependencies';

let app: INestApplication | undefined;
let dependencies: Awaited<ReturnType<typeof startTestDependencies>> | undefined;

beforeAll(async () => {
  dependencies = await startTestDependencies();
  process.env.DATABASE_URL = dependencies.databaseUrl;
  process.env.REDIS_URL = dependencies.redisUrl;

  // A dynamic import also supports applications that read config at module load time.
  const { AppModule } = await import('../src/app.module');
  const moduleFixture: TestingModule = await Test.createTestingModule({
    imports: [AppModule],
  })
    .overrideProvider('DATA_SOURCE_OPTIONS')
    .useValue({
      type: 'postgres',
      url: dependencies.databaseUrl,
      // ...entities, migrations, etc.
    })
    .compile();
  app = moduleFixture.createNestApplication();
  await app.init();
}, 60_000);

afterAll(async () => {
  try {
    await app?.close();
  } finally {
    try {
      await dependencies?.stop();
    } finally {
      delete process.env.DATABASE_URL;
      delete process.env.REDIS_URL;
    }
  }
});
The setup assigns DATABASE_URL and REDIS_URL after the containers start and before the application module loads:
process.env.DATABASE_URL = dependencies.databaseUrl;
process.env.REDIS_URL = dependencies.redisUrl;
The key is to never hardcode ports. Let Testcontainers tell you where things are, then pass that forward. The explicit hook timeout leaves room for container startup, while guarded cleanup still closes the app, both containers, and the environment if setup or teardown fails partway through.
Share Expensive Setup with a Base Test Class
For dependencies with slow startup or migrations, sharing containers across the suite can reduce setup time. Per-file containers remain a good choice when isolation and parallel execution matter more. A shared container requires either sequential tests or separate databases, schemas, and cache namespaces for each worker.
Create a shared IntegrationTestSetup class that wraps the app factory and exposes helpers:
// test/integration-test.setup.ts
import type { INestApplication } from '@nestjs/common';
import { Test } from '@nestjs/testing';

export class IntegrationTestSetup {
  app!: INestApplication;

  async init(databaseUrl: string, redisUrl: string) {
    process.env.DATABASE_URL = databaseUrl;
    process.env.REDIS_URL = redisUrl;
    const { AppModule } = await import('../src/app.module');
    const moduleFixture = await Test.createTestingModule({
      imports: [AppModule],
    }).compile();
    this.app = moduleFixture.createNestApplication();
    await this.app.init();
  }

  async close() {
    await this.app.close();
  }

  getHttpServer() {
    return this.app.getHttpServer();
  }
}
The simplest shared-container setup runs test files sequentially. Configure global setup and teardown to manage the containers:
// jest.config.ts
export default {
  globalSetup: './test/global-setup.ts',
  globalTeardown: './test/global-teardown.ts',
  maxWorkers: 1,
};
// test/global-setup.ts
import { PostgreSqlContainer } from '@testcontainers/postgresql';
import { RedisContainer } from '@testcontainers/redis';
export default async () => {
const postgres = await new PostgreSqlContainer('postgres:17.11-bookworm')
.withDatabase('myapp')
.withUsername('postgres')
.withPassword('postgres')
.start();
try {
const redis = await new RedisContainer('redis:7.4.11-bookworm').start();
// Container objects are available to globalTeardown, not to test files.
(globalThis as any).__POSTGRES__ = postgres;
(globalThis as any).__REDIS__ = redis;
// Test workers receive serializable connection details through the environment.
process.env.DATABASE_URL = postgres.getConnectionUri();
process.env.REDIS_URL = redis.getConnectionUrl();
} catch (error) {
await postgres.stop().catch(() => undefined);
throw error;
}
};// test/global-teardown.ts
export default async () => {
try {
await (globalThis as any).__REDIS__?.stop();
} finally {
await (globalThis as any).__POSTGRES__?.stop();
}
};When to isolate per test file vs share globally:
- Global containers - when startup is expensive and tests run sequentially, or when every worker has an isolated database, schema, and Redis namespace.
- Per-file containers - when you want stronger isolation and parallel test-file execution. Startup is slower, but cleanup cannot interfere with another file.
Cleaning shared tables after each test does not make parallel files safe: one file can still truncate data while another is using it. If you remove maxWorkers: 1, isolate state per worker instead of relying only on cleanup.
Utility Methods for Auth and Cleanup
Your setup class should expose helpers to keep test files focused on business logic:
export class IntegrationTestSetup {
  // ... previous code

  async createAuthorizationHeader(userId: string) {
    const token = await this.generateTestToken(userId);
    return `Bearer ${token}`;
  }

  async cleanDatabase() {
    const dataSource = this.app.get(DataSource);
    const entities = dataSource.entityMetadatas;
    for (const entity of entities) {
      const repo = dataSource.getRepository(entity.name);
      await repo.query(`TRUNCATE "${entity.tableName}" RESTART IDENTITY CASCADE`);
    }
  }

  async cleanRedis() {
    // Replace REDIS_CLIENT with your application's node-redis provider token.
    const redis = this.app.get<{ flushDb(): Promise<unknown> }>('REDIS_CLIENT');
    await redis.flushDb();
  }

  private async generateTestToken(userId: string): Promise<string> {
    const jwtService = this.app.get(JwtService);
    return jwtService.sign({ sub: userId });
  }
}
Reset every shared stateful dependency in afterEach when tests run sequentially against global containers:
afterEach(async () => {
  await setup.cleanDatabase();
  await setup.cleanRedis();
});
This prevents one sequential test from inheriting PostgreSQL or Redis state from the previous test. It is not a substitute for worker-level isolation when test files run in parallel.
Writing Maintainable Integration Tests
With the infrastructure properly configured, your actual tests should focus on business logic, not plumbing:
import request from 'supertest';

describe('POST /orders', () => {
  it('should return 400 when stock is insufficient', async () => {
    // Arrange
    const product = await createTestProduct({ stock: 2 });
    const user = await createTestUser();
    const authorization = await setup.createAuthorizationHeader(user.id);
    // Act
    const response = await request(setup.getHttpServer())
      .post('/orders')
      .set('Authorization', authorization)
      .send({ productId: product.id, quantity: 5 });
    // Assert
    expect(response.status).toBe(400);
    expect(response.body.message).toBe('Insufficient stock');
  });
});
Notice how the test doesn't mention containers, connections, or infrastructure at all. The complexity is hidden behind well-designed helpers. You're not mocking Postgres or Redis - you're testing real behavior.
Conclusion
Testcontainers transforms integration testing by giving you the confidence that comes from testing against real dependencies. No more wondering if your in-memory SQLite behavior matches production Postgres, or dealing with shared test environments that break when someone runs tests in parallel.
Unit tests are still valuable - they're fast, focused, and great for pure logic. But integration tests are what give you real confidence when the system changes. They're the difference between "the tests pass" and "the system works."
Start simple: pick one integration test that currently uses mocks or in-memory databases, and convert it to use Testcontainers. You'll immediately notice the difference in confidence when that test passes. Then gradually expand to cover your critical business flows. The investment in setup pays back fast, trust us.